Whether you’re a new or seasoned business owner looking to bolster your brand with unique stickers, kick-starting this project can be a challenging process. There are tools to gather, design processes to establish, and budgets to think about.
Wherever you stand, Diecutstickers.com (DCS) is here to help with this complete guide on how to make stickers to sell. And even if stickers aren’t exactly your end goal, this guide can still be useful for any personal packaging or shipping labels you want for your business.
We’ll first dive into the DIY process of making stickers and then discuss some of the outsourcing options you have (because, let’s be real, as a business owner, you could always do with some extra help!).
What You Need: Materials and Equipment
Stickers offer a great way to boost brand awareness and add some personality to your business. But of course, achieving the right look and reaction from customers requires having the right materials to execute your vision.
To launch your DIY sticker project, you need five things. In each section, we’ve ordered your options from least to most expensive.
1. Design or Ilustration Tools
Invest in a digital drawing tool that can help bring your vision to life. Below are two of the most commonly used design tools:
Wacom Intuos Drawing Tablet
The Wacom Intuos drawing tablet is a drawing tool that has a pen with pressure sensitivity, allowing you full control over your design. It’s also compatible with all design software programs (on Windows or Mac). The Wacom tablet is particularly popular among fairly new illustrators and designers.
iPad Pro and Apple Pencil
If you’re a die-hard Apple user, then consider the iPad Pro and Apple Pencil. Together, you’ll have an immersive drawing canvas and access to drawing apps such as Procreate, Autodesk Sketchbook, and Adobe Photoshop Sketch.
2. Design Software Programs
You’ll need to use your drawing tools with a design software program. Here are some of the main programs available out there:
Canva
Even with Canva’s free plan, you can use the design platform to draw your own sticker illustrations. Canva also has design templates you can use if you find yourself in a creative rut.
Design Space
Design Space is a free app that comes with any Cricut cutting machine (which we’ll talk about in a bit). And for an additional fee each month, you can get access to templates. Design Space is compatible with Windows and Mac.
Silhouette Studio
The Silhouette Studio comes with the Silhouette cutting machine (again, we’ll get into this in the cutting tools section). With the free plan, you can design your own content with easy-to-use tools. You can also upgrade your plan to gain access to additional features. The Silhouette Studio is compatible with Windows and Mac.
Procreate
Have an iPad? For $9.99 a month, you can use Procreate, which is Apple’s digital illustration app. It offers all the art tools to let you sketch, paint, and draw unique sticker designs. You can also import paint brushes from your Adobe Photoshop account to achieve the exact look you want.
Adobe Creative Cloud Apps
The Adobe Creative Cloud offers 20 products, most notably, Photoshop, Illustrator, and InDesign. If you’re a pretty confident designer, then purchasing the Cloud might just be worth it. Plans for the whole package start at $52.99 a month.

3. Sticker Paper
Sticker paper has an adhesive backing. There are generally four different types of sticker paper you can purchase. Any of them will work well—it all depends on the look, feel, and functionality you’re going for:
Matte Sticker Paper
Matte sticker paper resembles computer paper; there isn’t gloss on the surface. Keep in mind, matte paper tends to absorb the printer ink, so sometimes, when you print something, the design can come out faded or pixelated.
This is why matte sticker paper is generally recommended for shipping labels or planner stickers. Any stickers with designs that would benefit from a faded or matte look would work as well.
Overall, because they don’t have gloss, matte stickers generally won’t have that “pop” glossy stickers might have.
Glossy Sticker Paper (Clear or White)
While the matte paper absorbs the design ink, glossy paper does not; the ink lies on top of the paper. As a result, glossy paper makes your designs look bright and vibrant, like they appear on your computer screen.
Glossy sticker paper comes in both clear (100% transparent) and opaque (white/non-see-through) options.
-
The transparent glossy paper can be great for stickers meant to go on clear objects, like kitchen canisters, water bottles, or windows.
-
The opaque glossy paper will make your stickers look professional. They are versatile enough that they can be suited for nearly any type of use (e.g., party favor stickers, decals, decorative labels, and more).
Vinyl Sticker Paper
Vinyl is probably the most expensive sticker materiial due to the high level of quality/durability and can typically only be ordered in bulk. Thick, waterproof, and UV-protected, so they won’t fade so easily.
Found most commonly on skateboards, helmets, and vehicles—they stand up pretty well to regular abuse. Like glossy paper, Vinyl Sticker Paper also comes in Clear and White options.
The main takeaway? If you’re going for high-quality stickers, glossy and Vinyl Sticker Papers are your best bet.
4. Printer
Keep in mind, it’s essential to ensure your sticker paper is compatible with your printer.
The sticker paper packaging should note the type of printer it’s suited for. For example, it might say, “Suitable for an inkjet printer.” In this case, you should have an inkjet printer; otherwise, you might end up with subpar results.
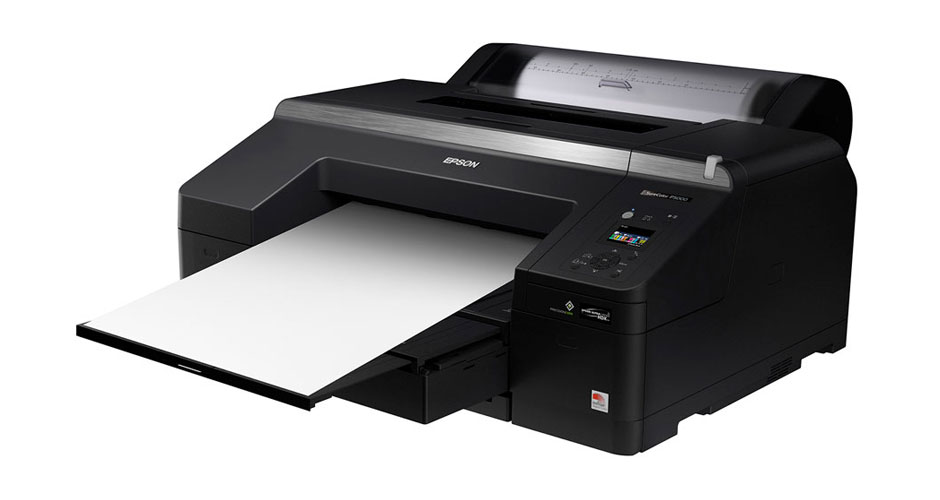
There are generally two types of printers to choose from: Inkjet printers and Laser printers.
Inkjet Printer
Inkjet printers rely on dye or pigment-based ink to get the job done. These printers are generally great for sticker designs that mainly comprise images.
Inkjet printers are widely used in homes and home offices that require lower print volume. So if you have a small, independent business, an inkjet printer might be a good fit.
Laser Printer
Laser printers use toner powder to create text and images. They generally have faster print speeds than inkjet printers. Therefore, if you have a growing business or mid-sized office that requires high-volume prints, you might want to opt for laser printers.
There are also monochrome laser printers that are ideal if you specifically print black and white graphics or text.
Note: If you want your stickers to be waterproof, in addition to getting vinyl paper, you’ll need to purchase waterproof ink.

5. Cutting Tools
Last but not least, you’ll need some handy cutting tools to shape your stickers. Here are some options:
Scissors
There’s no shame in keeping things simple, especially if you are on a budget or just launching your independent business. A nice pair of scissors should do the trick!
There are affordable decal scissors in the market. Consider having a few sizes on you (e.g., small, medium, large), so you can give all your prints the neat trims they deserve.
Exacto Knife
An exacto knife is useful if you want to create sticker sheets. After you print your sticker sheet, you can use the exacto knife to carve the outer part of your designs. That way, your customers can peel them off the sheet.
But of course, if you need to produce several stickers at a time, you can use cutting machines to do this, which brings us to our next item.
Cricut Explore Air 3
A personal cutting machine, the Cricut Explore Air 3 can cut over 100 types of materials, including vinyl paper, cardstock, and more. It comes with helpful creative tools like a fine-point and deep-point blade to help you make the right cuts.
As noted earlier, you’ll get free access to Cricut’s Design Space® where you can create your graphics. The Cricut cutter also comes with a cutting mat, which helps your designs stay in place during the cutting process.
Silhouette Cameo 4
The Silhouette Cameo 4 has an automatic tool detection, which automatically detects what’s inserted into your machine and sets up the right cut settings. And unlike the Cricut, you don’t need to attach your sticker sheets to a cutting mat.
Similar to the Cricut device, the Silhouette machine gives you access to a design app called the Silhouette Studio®. The app allows you to create designs from scratch and import your own fonts and images.
Making Your Own Stickers: The Process
Once you’ve got all your materials and equipment, you’re now ready to put these tools to use.
Below are some steps that are intended simply to outline the production process. You might need to customize some of these steps depending on the look and style you’re going for, the timeframe you’re looking at, and the types of equipment you have.
-
Draw: With your drawing tool and design program, draw your graphics or text.
-
Print: Once you achieve the design you want, print out your sticker(s).
-
Cut: Run your printed sticker(s) through your cutting tool. If you’re using a cutting machine, make sure you program your cutting machine so it creates a nice border cut outside your design. And depending on your cutting device, you may need to attach your stickers to a cutting mat before running it through the machine.
-
Protect (optional): If you want to waterproof your stickers and don’t have waterproof printing ink, there are other ways to do this:
-
Seal your stickers with a coat or two of acrylic spray. It offers a permanent protective gloss coating. (We highly recommend that you test out the acrylic spray on an inconspicuous piece of material to ensure that it works properly and doesn’t ruin the material before you apply it to the entire sheet.)
-
Put a layer of standard packaging tape over your printed sticker. Trim away excess tape. For large stickers, a 6-inch wide packing tape should do.
Partner Up For Growth
As a business owner, you likely have enough on your plate. Whether you are planning to scale your business, don’t possess design skills, or just don’t have the manpower to take full ownership of the DIY route, rest assured, you have options.
Let’s take a look at how to make and sell stickers with with vendors and partners in mind. Here are some ideas to get the ball rolling:
Use Design Support Tools
Not an artist? Don’t worry, the proliferation of online design support tools can help you achieve the look you want.
Some of the design software we mentioned earlier, like Canva, Design Space, and Silhouette Studio, have various stickers and design templates available for a monthly fee. This can save you a lot of time and alleviate some of the creative pressure.
You can also gain access to design templates from Diecutstickers.com to assist with basic layouts. All you need to do is choose a shape and style and drop your artwork into the template. You can then preview your sticker and then upload it when you checkout with us.
Level Up the Print Process
There are companies that can take care of the printing for you. All you need to do is send over your artwork and indicate size, paper, and laminate details.
Diecutstickers.com is proud to offer an eclectic range of sticker prints designed to meet the needs of your business. The type of print depends on how you want to sell your stickers.
Here's a few examples:
-
Die Cut Stickers, which are individual stickers contoured to the shape of their design. You can select the shape and the laminate (semi-gloss or matte).
-
Clear Stickers, which is a full color digital print onto clear vinyl. You have the option of either a gloss or matte laminate.
-
Custom Made Stickers, which include insanely custom products like Holographic and Back-print stickers. We’ll put you in touch with our Account Rep team to explore and pursue unique ideas. And don’t worry, we can give you a quote and some samples before you commit.
Be sure to check out our full catalog!

Ways to Leverage the Power of Your Stickers
If you’re designing stickers primarily as products for customers, great. But to really leverage the benefits stickers can provide from a business standpoint, consider expanding them in the following ways:
-
Brand packaging: If you’re a fairly new business, first impressions matter. Why not use your stickers to brand your packaging? Not only will it elevate the look of your packages, but it can also make a lasting impression on your customers.
-
Brand products: Clear stickers can be especially helpful in branding your products discreetly. If you sell water bottles or planners, you can add a small clear sticker onto them with your business details.
-
Promote yourself or an event: The next time you attend a conference, take some stickers with you. They can serve as unique and creative business cards for new connections who will feel encouraged to stick it on their wall.
Stick with Us for Your Creative Needs
If you partner with us, you’ll get access to easy-to-use design templates where you can preview the look of your finished sticker product. Don’t see the shape you want on the template page? No problem. We have a secret menu of insanely custom stickers where one of our account representatives will personally work with you to accommodate your needs.
Your sticker journey will take some time until you find a workflow pattern to align with your timelines and budget, so keep at it and be patient!
Feel free to call us at any time at (206) 816-3421 if you have any questions or are feeling overwhelmed about any step of the process!
Also, don't forget to grab a sample pack today so you can stick before your commit.